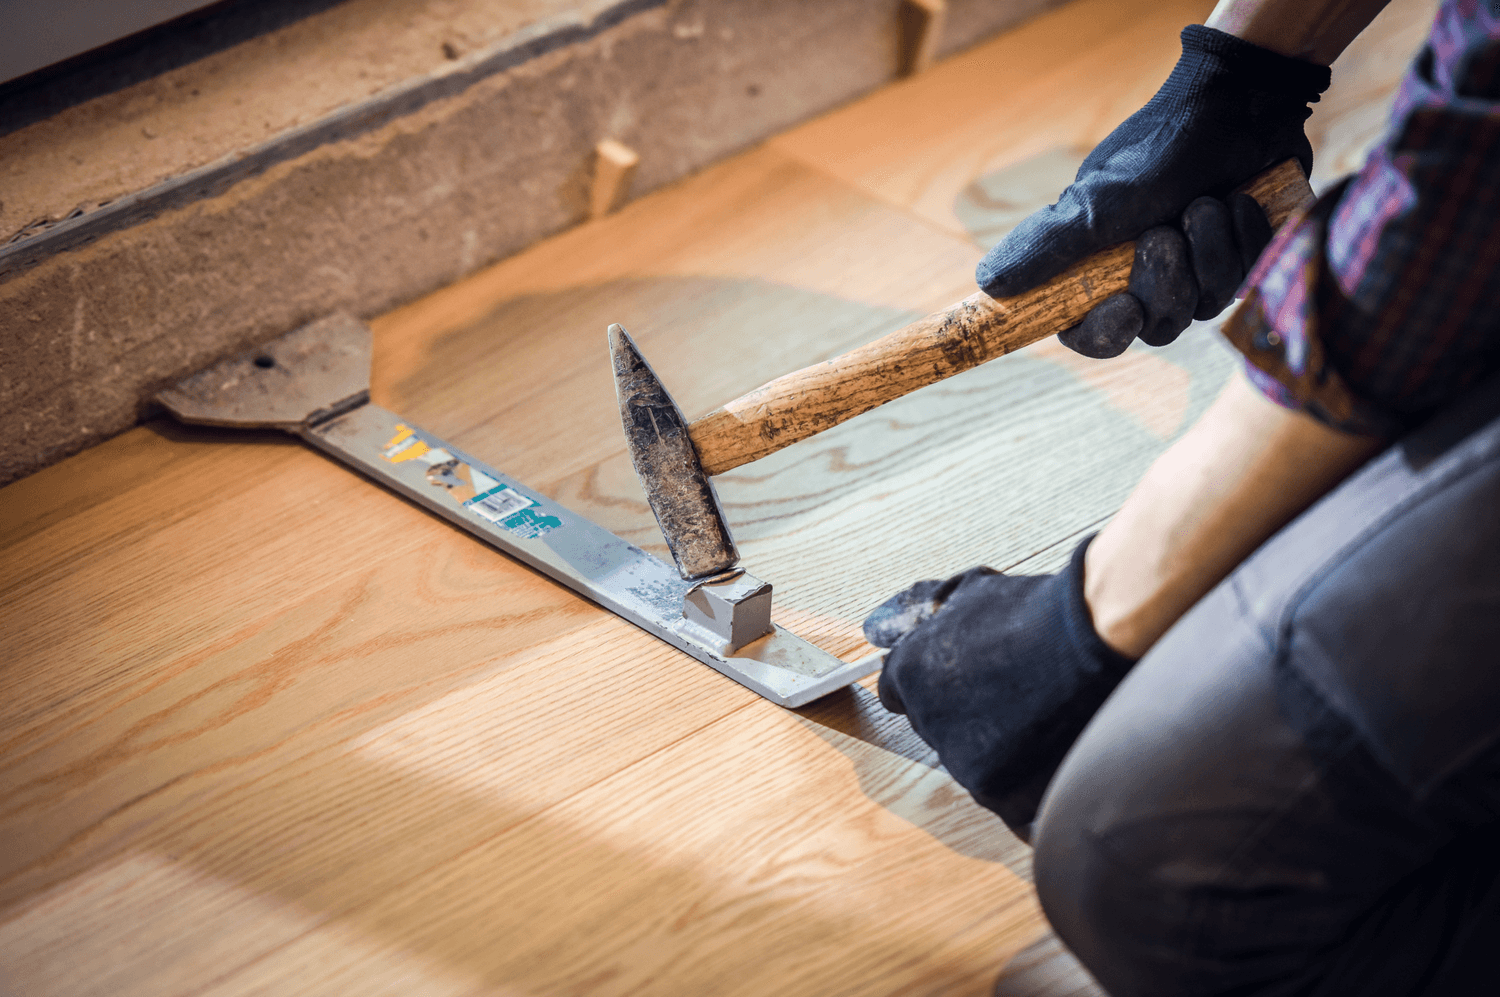
Hardwood floors can elevate the appearance of any home – and they can last for decades. However, kids (and kids’ toys), foot traffic and pets can all take their toll on your floors’ appearance, leaving them aged before their time.
If your hardwood floors have seen better days, what can you do? Well, unless you’re going to resort to covering the hardwood floors with rugs or carpets (and that would be a pity), it’s time to refinish them.
Don’t panic. We’ve got everything you need to know about this simple home improvement:
How Long Will This Take?
First, be aware that refinishing your floors is not a weekend job, especially if you’re working alone. It’s a labor-intensive project, and you should give yourself a day or two for the prep work, two or three days for the actual work, and another two days to make sure that the finishing varnish is fully dry.
Then, of course, you have to put everything to rights again – so figure on at least a week for this home repair, from start to finish.
Step One: Prep the Room and the Floor
For this project to go smoothly, you need to clear the entire room. Move all the furniture out of the room, pull up any rugs, banish the kids and the pets into other parts of the house, and carefully sweep and mop the floor to eliminate dust or debris.
Give your floor a careful check for any loose boards or lifted nails. These need your attention before you begin the rest of your work. Tap down any loose boards and make sure any raised nails are pounded down.
You should also seal the vent covers in the room and use double-layered plastic sheeting to block off the doors, windows and any entrances to the rest of the house. This is a dusty, gritty job, and you don’t want all that residue getting into your air ducts or other parts of the home.
With that in mind, you also need to remember to use some personal protective equipment throughout this process. A mask that filters out dust and a pair of coveralls that you can strip off when you’re done working are essentials.
Step Two: Handle the Sanding
This is the hard part. You need an orbital sander, not a typical drum sander – so rent one if you don’t own one. Not only are drum sanders very heavy and hard to use, but they can also leave uneven marks or gouges on your floor that will show up when you get to the varnish stage. (In other words, drum sanders should be left to the professionals.)
An orbital sander allows you to get into corners and edges without scuffing up your walls better than a drum sander, and you can use it with or against the wood grain. It will also give you an ultra-smooth finish. That translates into less work and less fatigue for you. (If you have a particularly tight corner, you may need a palm-held sander to finish the job.)
Step Three: Deep Clean the Dust
When you’re done sanding, there will be dust everywhere – and that’s no exaggeration. Use a broom to clear away as much dust as you can, then tackle the entire room again with a shop vac.
When you’re done with surface dust, tackle the floors again with a mop, and let dry. Finally, run a tack cloth over the entire floor’s surface to eliminate any remaining fine dust particles or hairs that could later ruin your finish.
Step Four: Apply Your Stain and Your Finish
Stain is actually an optional part of this process. If you like the color of your hardwood floors, you can skip this part and move straight to the finish. If you want to change the color, you need to apply the stain before you get to the finish. (Hint: If you still think your wood floors look a little weathered, staining them slightly darker hides a lot of small stains.)
When it comes to a finish, you basically have three options:
- Sealer: This will preserve the natural look of the wood and show off its grain.
- Polyurethane: These come in an oil or water base and you can pick a variety of lusters and sheens.
- Varnish: This takes the longest to dry, but it probably has the most durable surface, so consider it if you have kids or pets, or are working in a high-traffic area.
Step Five: Clean Up and Finish Up
Give your finish at least two days to dry before you start the final clean-up process and start moving your furniture back in place. If the floor feels at all tacky to the touch, it isn’t ready for use. Be patient, and you’ll be rewarded with a gorgeous floor that probably won’t need any real work again for another decade or so.
Don’t Want to Do This Yourself? You Have Options
If refinishing your floors still sounds like it’s outside your wheelhouse or way more work than you can handle, remember: You can always hire someone to do it. There’s no shame in putting your faith (and your floors) in the hands of a professional. (They can probably also do the job faster than you can on your own, which means you’ll have your home back in order a lot faster.)
Either way, you’ll end up with gorgeous floors that look like they’re brand new – and that will make your house seem even homier.


